How To Strengthen Ankles
A practical step-by-step guide to how to strengthen ankles, including preparation, instructions, common issues, tips, and next steps.
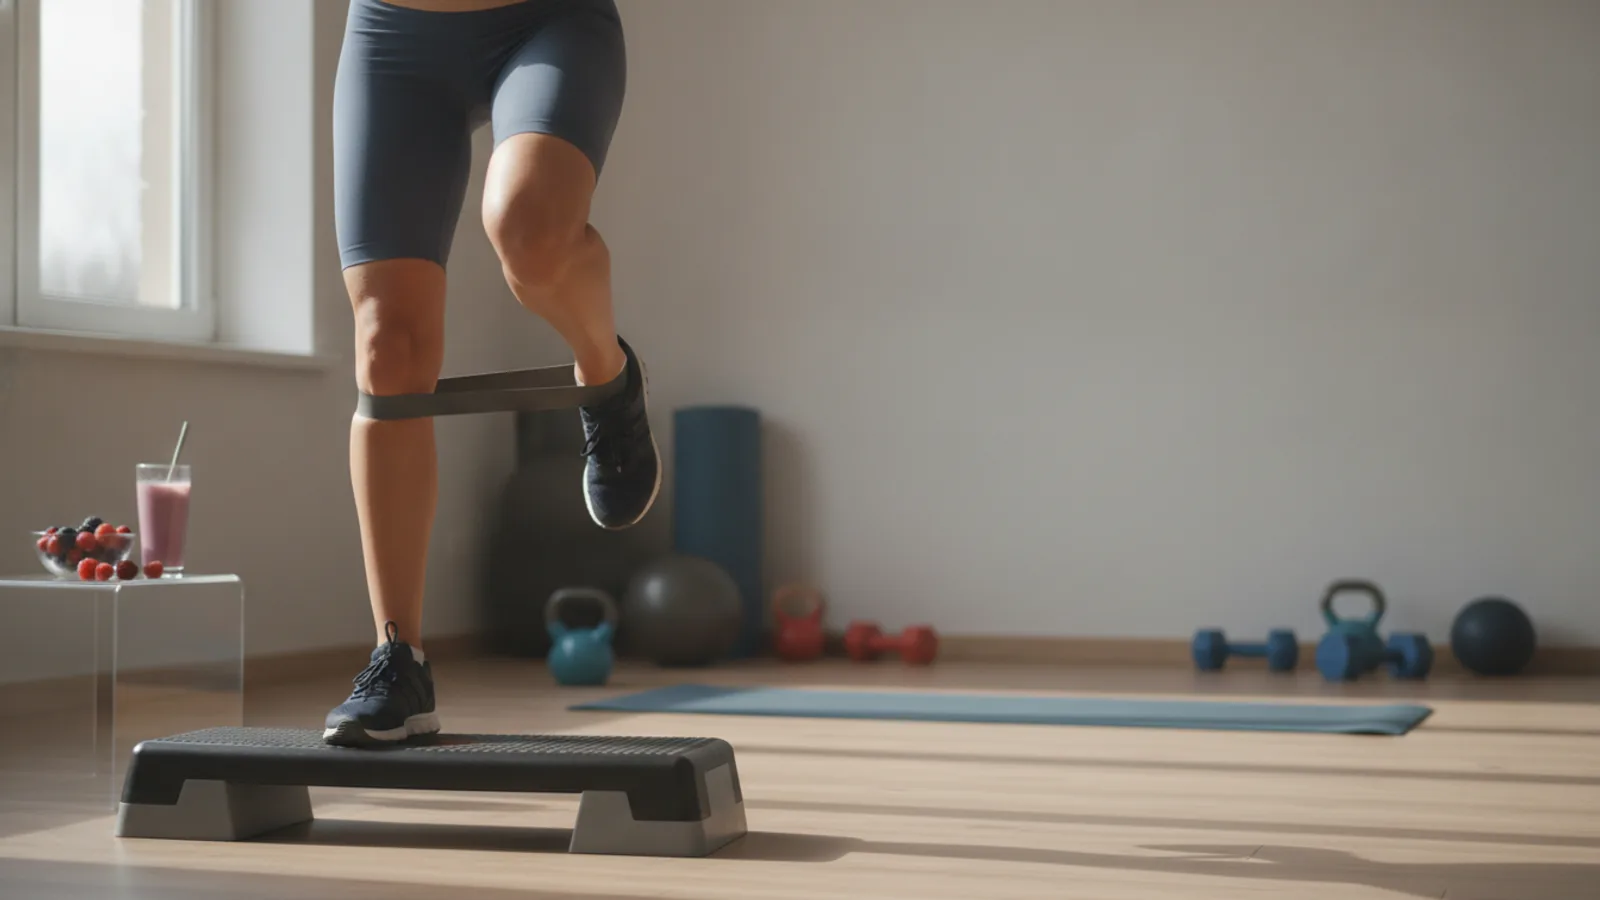
How To Strengthen Ankles
Strong ankles are essential for balance, stability, and preventing painful injuries like sprains. Whether you're an athlete, recovering from an injury, or simply want to improve your stability for daily activities, this guide provides a clear, step-by-step routine. By following these safe and effective exercises, you can build strength, improve your range of motion, and increase your confidence on your feet. This guide is for anyone looking to build a solid foundation of ankle health from the ground up.
Fast Answer
- Key Action: Perform targeted exercises regularly.
- Focus On: Balance, range of motion, and resistance.
- Best Practice: Start slow and prioritise proper form over speed.
Before You Start
- A clear, flat space: You'll need enough room to move your legs freely without bumping into furniture.
- Comfortable clothing: Wear clothes that don't restrict your movement.
- A sturdy chair or wall: This is for support during balance exercises to ensure safety.
- Optional: Resistance bands: A simple loop or therapy band can add a challenge as you get stronger.
Step-by-Step Instructions
Warm-Up with Ankle Circles
A proper warm-up increases blood flow to the muscles and ligaments around your ankle, preparing them for exercise and reducing the risk of strain. Ankle circles are a gentle way to improve mobility and lubricate the joint.
Sit on a chair or on the floor with your legs extended. Lift one foot off the floor. Slowly rotate your ankle in a clockwise direction, making the largest circle you can without causing pain. After completing the repetitions, reverse the direction and rotate your ankle anti-clockwise. Keep the movement smooth and controlled, focusing on moving only your ankle, not your entire leg.
Aim for 10-15 circles in each direction for each ankle.
Improve Range of Motion with the Alphabet Exercise
This classic physiotherapy exercise is excellent for improving the full range of motion in your ankle joint. It forces the ankle to move in multiple planes, which is crucial for overall function and stability. It's more complex than simple circles and engages more of the small stabilising muscles.
While seated, extend one leg out in front of you. Imagine your big toe is a pen and pretend to write the letters of the alphabet in the air, from A to Z. Try to make the letters large and clear, using only your foot and ankle to control the movement. Keep your leg as still as possible. Complete the full alphabet with one foot, then switch to the other.
Perform one full set (A-Z) for each ankle.
Build Foundational Strength with Heel Raises
The calf muscles (gastrocnemius and soleus) are the primary powerhouses that support your ankle. Strengthening them is fundamental to improving ankle stability and power for walking, running, and jumping. Heel raises, also known as calf raises, directly target these muscles.
Stand with your feet flat on the floor, about hip-width apart. Lightly hold onto a wall or the back of a sturdy chair for balance. Slowly push through the balls of your feet to raise your heels off the ground, lifting your body upwards. Pause for a second at the top, feeling the contraction in your calf muscles. Then, slowly and with control, lower your heels back to the floor. The lowering phase is just as important as the lifting phase.
Start with 2-3 sets of 10-15 repetitions. As you get stronger, you can progress to single-leg heel raises.
Balance Your Muscles with Toe Raises
The muscles on the front of your shin, particularly the tibialis anterior, are responsible for pulling your foot upwards (dorsiflexion). These muscles are often weaker than the calves, and strengthening them helps create balance around the joint, which is vital for preventing shin splints and improving control when your foot hits the ground.
Stand with your back against a wall for support, with your heels about a foot away from the wall. Keep your feet flat on the floor. Now, keeping your heels planted, lift the toes and front of your feet towards your shins as high as you can. Hold for a moment, feeling the muscles in your shins engage. Slowly lower your feet back to the starting position.
Perform 2-3 sets of 10-15 repetitions.
Add Resistance for Lateral Stability (Inversion and Eversion)
Ankle sprains most often occur when the ankle rolls inwards or outwards. Strengthening the muscles on the sides of your lower leg (the peroneal and tibialis muscles) directly combats this. A resistance band is the perfect tool for this job.
For Eversion (outward movement): Sit on the floor with your legs out in front of you. Loop a resistance band around the ball of one foot, and anchor the other end of the band on the opposite foot or a heavy table leg. From this starting position, slowly push your foot outwards against the band's resistance. Keep your leg still; the movement should only come from your ankle. Return to the start with control. This strengthens the outer ankle muscles.
For Inversion (inward movement): Cross one leg over the other. Loop the band around the ball of the top foot and hold the other end of the band with your hand or anchor it. Slowly pull your foot inwards and upwards against the band's resistance. This strengthens the inner ankle muscles.
For both movements, aim for 2 sets of 10-15 repetitions on each ankle.
Enhance Balance with Single-Leg Stances
Strength is only part of the equation. Proprioception—your body's awareness of its position in space—is crucial for ankle stability. When you stand on one leg, tiny muscles in your foot and ankle are constantly firing and making micro-adjustments to keep you upright. This trains the neuromuscular connection, helping your ankle react faster to prevent a fall or roll.
Stand near a wall or chair for support. Lift one foot off the ground, bending the knee slightly. Try to hold your balance without wobbling. Keep your standing leg's knee slightly bent (not locked) and your core engaged. Focus on a spot in front of you to help maintain your balance.
Start by holding the position for 20-30 seconds. As you improve, aim to hold it for up to a minute. Perform 2-3 sets on each leg.
Progress Your Balance on Unstable Surfaces
Once you can comfortably hold a single-leg stance on a flat floor for a minute, you are ready to increase the challenge. Introducing an unstable surface forces your ankle's stabilising muscles to work even harder, significantly improving your proprioception and reactive strength.
Start by standing on a folded towel or a plush cushion. Perform the same single-leg stance as in the previous step. You will immediately notice that your ankle has to work much harder to keep you stable. Once this becomes manageable, you can consider using a balance disc or a wobble board for an even greater challenge.
Begin with shorter holds, such as 15-20 seconds, and build up as your stability improves. Complete 2-3 sets on each leg.
Quick Reference
| Situation | Use This | Why |
|---|---|---|
| Just starting or warming up | Ankle Circles & Alphabet Exercise | Gently improves mobility and prepares the joint without impact. |
| Building a base of strength | Heel Raises & Toe Raises | Targets the large muscles in the calf and shin that provide primary support. |
| Preventing ankle rolls | Banded Inversion & Eversion | Strengthens the muscles on the sides of the ankle responsible for lateral stability. |
| Improving reaction time and coordination | Single-Leg Stance | Trains the nerves and muscles to react quickly to maintain balance. |
| Ready for an advanced challenge | Balancing on an Unstable Surface | Maximises the training of stabiliser muscles and proprioception. |
Common Problems When You Strengthen Ankles
Even with the best intentions, you might encounter a few issues. Here’s how to troubleshoot them.
Problem: You feel a sharp pain during an exercise.
Solution: Stop the exercise immediately. Pain is your body’s signal that something is wrong. Rest the ankle. If the pain is sharp and sudden, or if it persists, it's best to see a doctor or physiotherapist. Do not try to "push through" sharp pain, as this can lead to a more serious injury.
Problem: Your progress has stalled and you don't feel any stronger.
Solution: Consistency is key. Ensure you are performing the exercises at least 3-4 times per week. If you've been consistent for several weeks, it might be time to progress. You can do this by adding more repetitions or sets, increasing the resistance of your band, or holding balance exercises for longer. The principle of progressive overload—gradually increasing the demand on your muscles—is essential for building strength.
Problem: Your ankles click or pop during the exercises.
Solution: This is often harmless. The sound can be caused by the release of gas from the synovial fluid in the joint (cavitation) or a tendon moving over a bone. If the clicking is not accompanied by pain, swelling, or a feeling of instability, it is generally not a cause for concern. However, if pain is present, it could indicate an underlying issue that needs professional evaluation.
Problem: You feel wobbly and unstable during balance exercises.
Solution: That's the point! Feeling wobbly means your stabiliser muscles are working hard, which is exactly what you want. Make sure you are standing close enough to a wall or chair to catch yourself if you lose your balance. Focus your gaze on a fixed point on the wall in front of you. Start with shorter hold times (even 10 seconds is a good start) and gradually build up. It will get easier with practice.
Advanced Tips for Strengthening Ankles
Once you've mastered the basics and built a solid foundation, you can incorporate more dynamic and challenging movements to further enhance your ankle strength and resilience.
- Incorporate Plyometrics: Once you have good strength and no pain, you can add gentle jumping exercises. Start with simple two-footed hops on the spot, focusing on soft, controlled landings. Progress to jumping rope, box jumps (on a very low box to start), or forward and lateral hops. Plyometrics train your ankles to absorb and produce force quickly, which is crucial for sports.
- Walk on Varied Surfaces: Challenge your ankle stability by walking on different, uneven terrains. Walking on grass, sand, or a trail forces your ankles to constantly adapt and stabilise, providing a functional real-world workout.
- Use a Wobble Board or Balance Disc: These tools are specifically designed to challenge your balance and proprioception. You can stand on them with two feet and progress to one foot, or even perform exercises like squats while balancing on the disc.
- Integrate Full-Body Movements: Ankle stability doesn't happen in isolation. Incorporate exercises like lunges (forward, reverse, and lateral) and squats into your routine. These movements require your ankles to provide a stable base for the rest of your body, strengthening them in a functional context.
How To Strengthen Ankles FAQ
How long does it take to strengthen ankles?
With consistent effort (3-4 sessions per week), most people will begin to notice an improvement in stability and confidence within 4 to 6 weeks. Significant strength gains can take several months. Patience and consistency are more important than intensity, especially at the beginning.
Can I strengthen my ankles after a sprain?
Yes, in fact, it is a critical part of rehabilitation after an ankle sprain to prevent re-injury. However, you must wait until you are cleared by a doctor or physiotherapist to begin exercises. They will provide a specific rehabilitation protocol that will likely include many of the exercises in this guide, starting very gently and progressing as you heal.
Are ankle weights good for strengthening ankles?
Generally, no. While ankle weights can strengthen larger leg muscles like your quads or hamstrings during certain exercises, they are not recommended for the specific ankle-strengthening movements described here. The small, precise muscles around the ankle can be easily strained by the uncontrolled momentum of a weight strapped to the foot. Resistance bands provide a much safer and more targeted form of resistance for these exercises.
Should I wear an ankle brace while exercising?
An ankle brace can provide support and may be recommended by a medical professional during the recovery phase of an injury. However, for the purpose of strengthening, it's best to perform these exercises without a brace if it is safe to do so. This forces the muscles and ligaments in your ankle to do the work, which is how they get stronger. If you rely on a brace constantly, the supporting muscles can become weaker over time.
Final Checklist for Strengthening Ankles
- Consult a Professional First: If you have a history of injury or pain, get clearance from a doctor or physiotherapist.
- Always Warm-Up: Prepare your ankles for movement with gentle mobility exercises like ankle circles.
- Focus on Form: Prioritise slow, controlled movements over speed or high repetitions. Quality is better than quantity.
- Listen to Your Body: Stop if you feel sharp pain. A slight muscle fatigue is normal, but pain is a warning sign.
- Be Consistent: Aim for 10-15 minute sessions, 3-4 times per week, for the best results.
- Progress Gradually: As exercises become easier, increase the challenge by adding reps, resistance, or instability.
- Combine Strength and Balance: A complete routine includes both strengthening exercises (like heel raises) and stability work (like single-leg stances).